


Drywall is going up on the upstage left wall where we hope to one day mount a 70" flat-screen television monitor.
Blocking has been built into the studs to support the stage right and stage left monitors. Data cabling and electric outlets are also in place on both sides of the stage. All of our walls have been insulated with mineral wool. Plastic has been added over all exterior walls to provide a vapor barrier to prevent warm moist air from penetrating the insulation. Moisture trapped in insulation dramatically reduces its effectiveness, can lead to mold growth, peeling paint and even cause the wooden framework to rot. As you can see, all joints and receptacles are sealed with a special tape to ensure that the moisture barrier is not compromised.

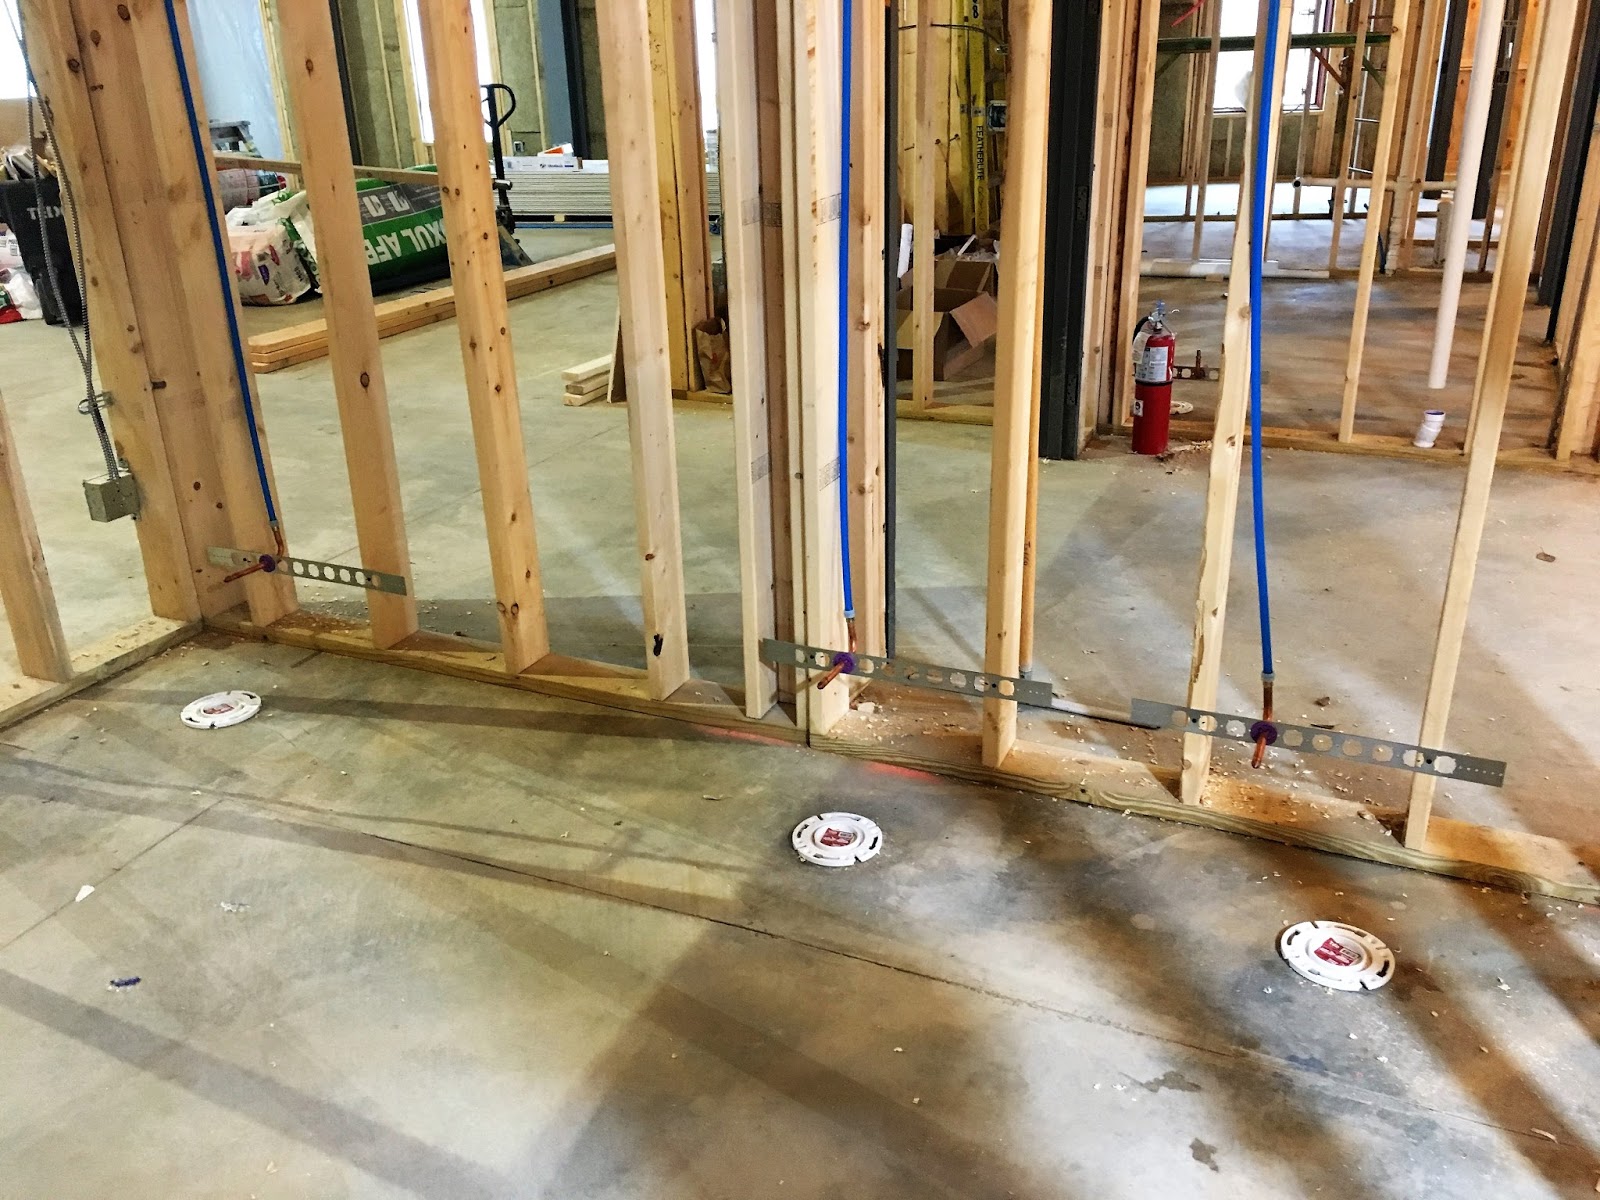
 Three things my father, a mechanical engineer, taught be about building -- how to hold a hammer for maximum effect, the triangle is the only geometric shape that doesn't depend upon the strength of it's joints for its rigidity, and no one can ruin good framing like a plumber. But, if you are going to have restrooms, you must get the drains, water and vent pipes to the right locations. Since most of the new building doesn't have a basement, that means routing piping through walls and ceilings.The large diameter white PVC pipe in this and the next photo is the vent for the drain in the unisex bathroom. Without vents, the water won't flow down the drain. It's like the old trick of putting a straw in a glass of water, putting your finger over the top end, lifting the straw out of the glass and removing your finger so the water flows out. These vents go into the attic and through the roof.

 This is the ceiling of the infant-toddler room showing a similar pattern of wires and tubing.
The infant-toddler room will have double thick drywall on both sides of its 2'X6" framed wall to control fire spread. The room will also have a sink.
Toilet flanges, or closet flanges as they are sometimes called, have been installed in the women's restroom. The difference in spacing is to allow for an ADA compliant toilet to be installed on the far left of the photo.
 The stage floor in the sanctuary has been added and the diagonal steel bracing has been framed so it can be covered with drywall. Speaker and data cables are located at the top of the downstage edge of the wall. The electrical box in the approximate center of the wall will be for lighting control.

An ADA compliant ramp has been constructed far stage right. In keeping with code, the ramp will have railings left and right protruding one foot beyond each end of the ramp.

These two photos are mock ups of the detail for the soffit and facia. We will be using Azek bead board, shown on the right, for most of the soffit. Azek is a high-quality, long-lasting plastic product that should never need to be painted.


The ceiling of the sanctuary continues to the outside on the west end of the building, an effect we are going to recreate in a more modest way on choir room soffit on the east side of the new building.
In other news, at the owner/architect/contractor meeting on Tuesday, the construction team gave the go-ahead to install a triangular window at the top of the peaked roof in the choir room. In the original plan, the roof was to be flattened just above the small central window to allow an air vent to be run across the top of the room and out the front of the building. The HVAC contractor recommended that instead of venting out the front of the building, we vent through the roof -- an option that saved several thousand dollars. That allows us to take the ceiling all the way to the peak and create a little more drama for the room by adding a small triangular window where the vent would have gone at less than half the cost of the vent.
At the meeting, the team selected a stucco color, cool white, and trowel pattern and approved re-stuccoing of the facade around the front door, which was badly damaged by the beautiful but invasive trumpet vine. The repair will occur when the new building is done. If the weather continues to cooperate, stucco will go on beginning in the next week or two. The team also approved the the installation of an automatic opener for the new front door. The thickness of the front wall surrounding the door makes access by the disabled difficult, mandating that we add the opener to be fully ADA compliant and meet Mt. Lebanon city code. Now that we are able, the building has been locked for safety, security and to comply with TEDCO's insurance requirements. No one from Sunnyhill has access to the building after working hours. If you have business that requires going into the new building, stop by the TEDCO office and talk to Craig, our site superintendent. You will need to wear long sleeves, long pants, closed toed shoes and a hard hat. TEDCO has been very gracious and helpful in allowing us to take photos for our blog, and we are grateful.
No comments:
Post a Comment